自己部署个adguradhome在路由docker中 在hub上
在hub上
https://hub.docker.com/r/adguard/adguardhome 都已经很详细了
官方在看这里
AdGuard Home - Docker

Privacy protection center for you an work-wide ads & trackers blocking DNS server.
resolved
Introduction
AdGuard Home is a network-wide software for blocking ads and tracking. After you set it up, it'll cover all your home devices, and you won't need any client-side software for that. Learn more on our official Github repository.
Quick Start
Pull the Docker image
This command will pull the latest stable version:
docker pull adguard/adguardhome
Create directories for persistent configuration and data
The image exposes two volumes for data and configuration persistence. You should create a data directory on a suitable volume on your host system, e.g. /my/own/workdir, and a configuration directory on a suitable volume on your host system, e.g. /my/own/confdir.
Create and run the container
Use the following command to create a new container and run AdGuard Home:
docker run --name adguardhome\
    --restart unless-stopped\
    -v /my/own/workdir:/opt/adguardhome/work\
    -v /my/own/confdir:/opt/adguardhome/conf\
    -p 53:53/tcp -p 53:53/udp\
    -p 67:67/udp -p 68:68/udp\
    -p 80:80/tcp -p 443:443/tcp -p 443:443/udp -p 3000:3000/tcp\
    -p 853:853/tcp\
    -p 784:784/udp -p 853:853/udp -p 8853:8853/udp\
    -p 5443:5443/tcp -p 5443:5443/udp\
    -d adguard/adguardhome
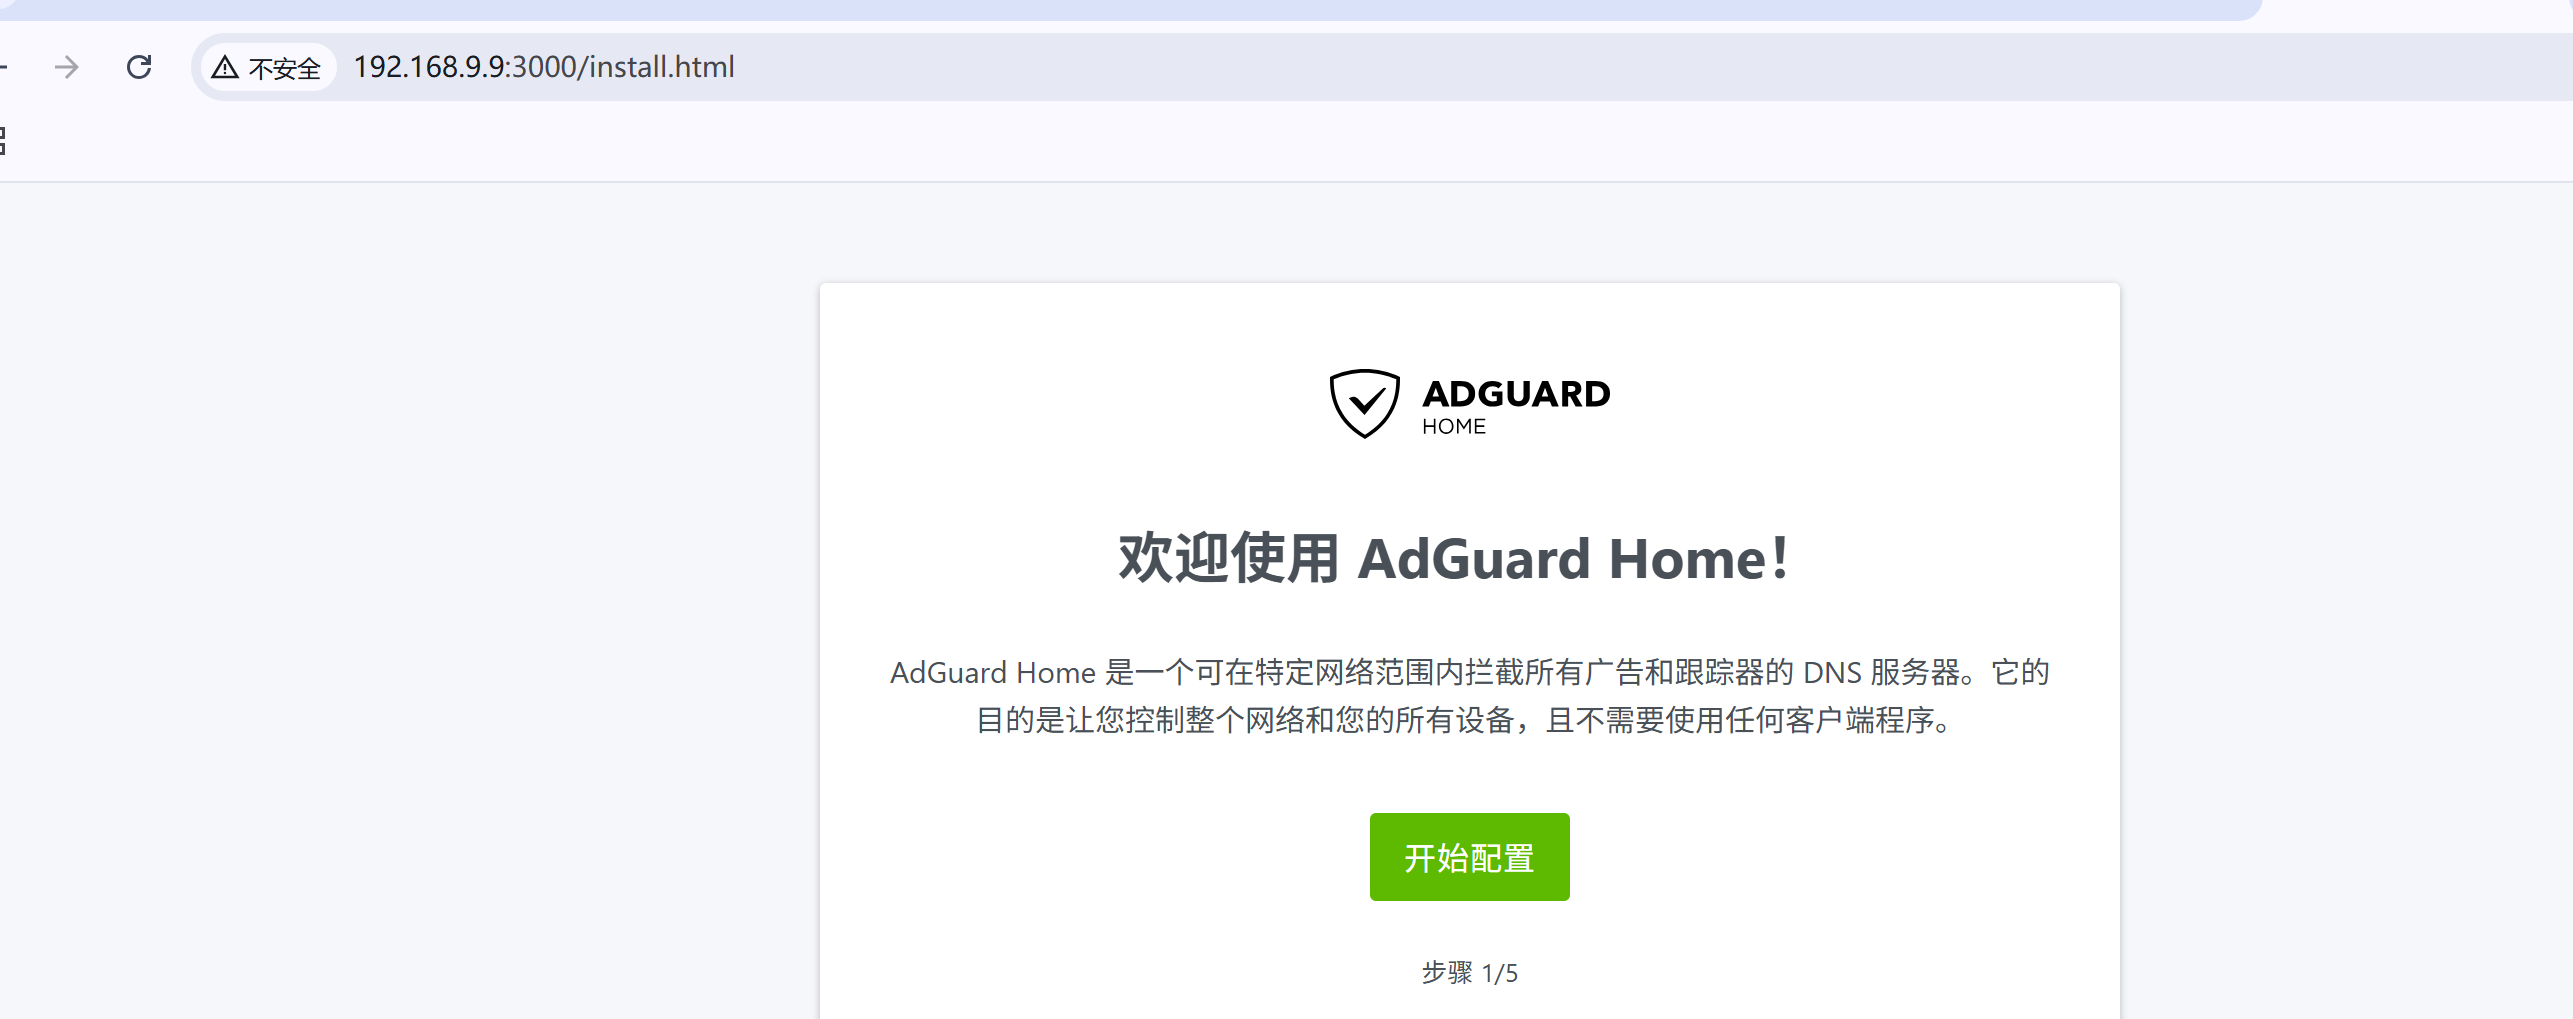
Now you can open the browser and navigate to http://127.0.0.1:3000/ to control your AdGuard Home service.
Don't forget to use your own data and config directories!
Ports mappings you may need:
-p 53:53/tcp -p 53:53/udp: plain DNS.-p 67:67/udp -p 68:68/tcp -p 68:68/udp: add if you intend to use AdGuard Home as a DHCP server.-p 80:80/tcp -p 443:443/tcp -p 443:443/udp -p 3000:3000/tcp: add if you are going to use AdGuard Home's admin panel as well as run AdGuard Home as an HTTPS/DNS-over-HTTPS server.-p 853:853/tcp: add if you are going to run AdGuard Home as a DNS-over-TLS server.-p 784:784/udp -p 853:853/udp -p 8853:8853/udp: add if you are going to run AdGuard Home as a DNS-over-QUIC server. You may only leave one or two of these.-p 5443:5443/tcp -p 5443:5443/udp: add if you are going to run AdGuard Home as a DNSCrypt server.
Control the container
Start:
docker start adguardhomeStop:
docker stop adguardhomeRemove:
docker rm adguardhome
Update To A Newer Version
Pull the new version from Docker Hub:
docker pull adguard/adguardhomeStop and remove currently running container (assuming the container is named
adguardhome):docker stop adguardhome docker rm adguardhomeCreate and start the container using the new image using the command from the previous section.
Running Dev Builds
If you want to be on the bleeding edge, you might want to run the image from the edge or beta tags. In order to use it, simply replace adguard/adguardhome with adguard/adguardhome:edge or adguard/adguardhome:beta in every command from the quick start. For example:
docker pull adguard/adguardhome:edge
Additional Configuration
Upon the first run, a file named AdGuardHome.yaml will be created, with default values written into it. You can modify the file while your AdGuard Home container is not running. Otherwise, any changes to the file will be lost because the running program will overwrite them.
Settings are stored in YAML, possible parameters that you can configure are listed on this page.
DHCP Server
If you want to use AdGuardHome's DHCP server, you should pass --network host argument when creating the container:
docker run --name adguardhome --network host ...
This option instructs Docker to use the host's network rather than a docker-bridged network. Note that port mapping with -p is not necessary in this case.
A note from the Docker documentation:
The host networking driver only works on Linux hosts, and is not supported on Docker Desktop for Mac, Docker Desktop for Windows, or Docker EE for Windows Server.
resolved
If you try to run AdGuardHome on a system where the resolved daemon is started, docker will fail to bind on port 53, because resolved daemon is listening on 127.0.0.53:53. Here's how you can disable DNSStubListener on your machine:
Deactivate
DNSStubListenerand update the DNS server address. Create a new file,/etc/systemd/resolved.conf.d/adguardhome.conf(creating the/etc/systemd/resolved.conf.ddirectory if needed) and add the following content to it:[Resolve] DNS=127.0.0.1 DNSStubListener=noSpecifying
127.0.0.1as the DNS server address is necessary because otherwise the nameserver will be127.0.0.53which doesn't work withoutDNSStubListener.Activate a new
resolv.conffile:mv /etc/resolv.conf /etc/resolv.conf.backup ln -s /run/systemd/resolve/resolv.conf /etc/resolv.confStop
DNSStubListener:systemctl reload-or-restart systemd-resolved
下面的直接做 docker-compose和podman-compose
docker-compose.yaml 网络模式直接用host 省的更换。。 启动的时候 会提示端口被占用的话自己修改一个没被占用的就好,然后把你的dns端口填到dhcp转发哪里
docker-compose
version: "3.8"

services:
  adguardhome:
    image: adguard/adguardhome:latest
    container_name: adguardhome
    restart: unless-stopped

    # 使用 host 网络模式,适合需要 DHCP 和占用端口的应用
    network_mode: "host"

    # 映射配置和数据目录
    volumes:
      - ./work:/opt/adguardhome/work      # 工作数据目录
      - ./conf:/opt/adguardhome/conf      # 配置目录(包含 AdGuardHome.yaml)

    # 由于使用 host 网络模式,端口映射部分已去除
    # 如果有特殊端口需求,可以手动加上
podman-compose
podman-compose.yaml
version: "3.8"

services:
  adguardhome:
    image: docker.io/adguard/adguardhome:latest
    container_name: adguardhome
    restart: unless-stopped

    # 使用 host 网络模式,适合需要 DHCP 和占用端口的应用
    network_mode: "host"

    # 映射配置和数据目录
    volumes:
      - ./work:/opt/adguardhome/work
      - ./conf:/opt/adguardhome/conf

    # 由于使用 host 网络模式,端口映射部分已去除
    # 如果有特殊端口需求,可以手动加上
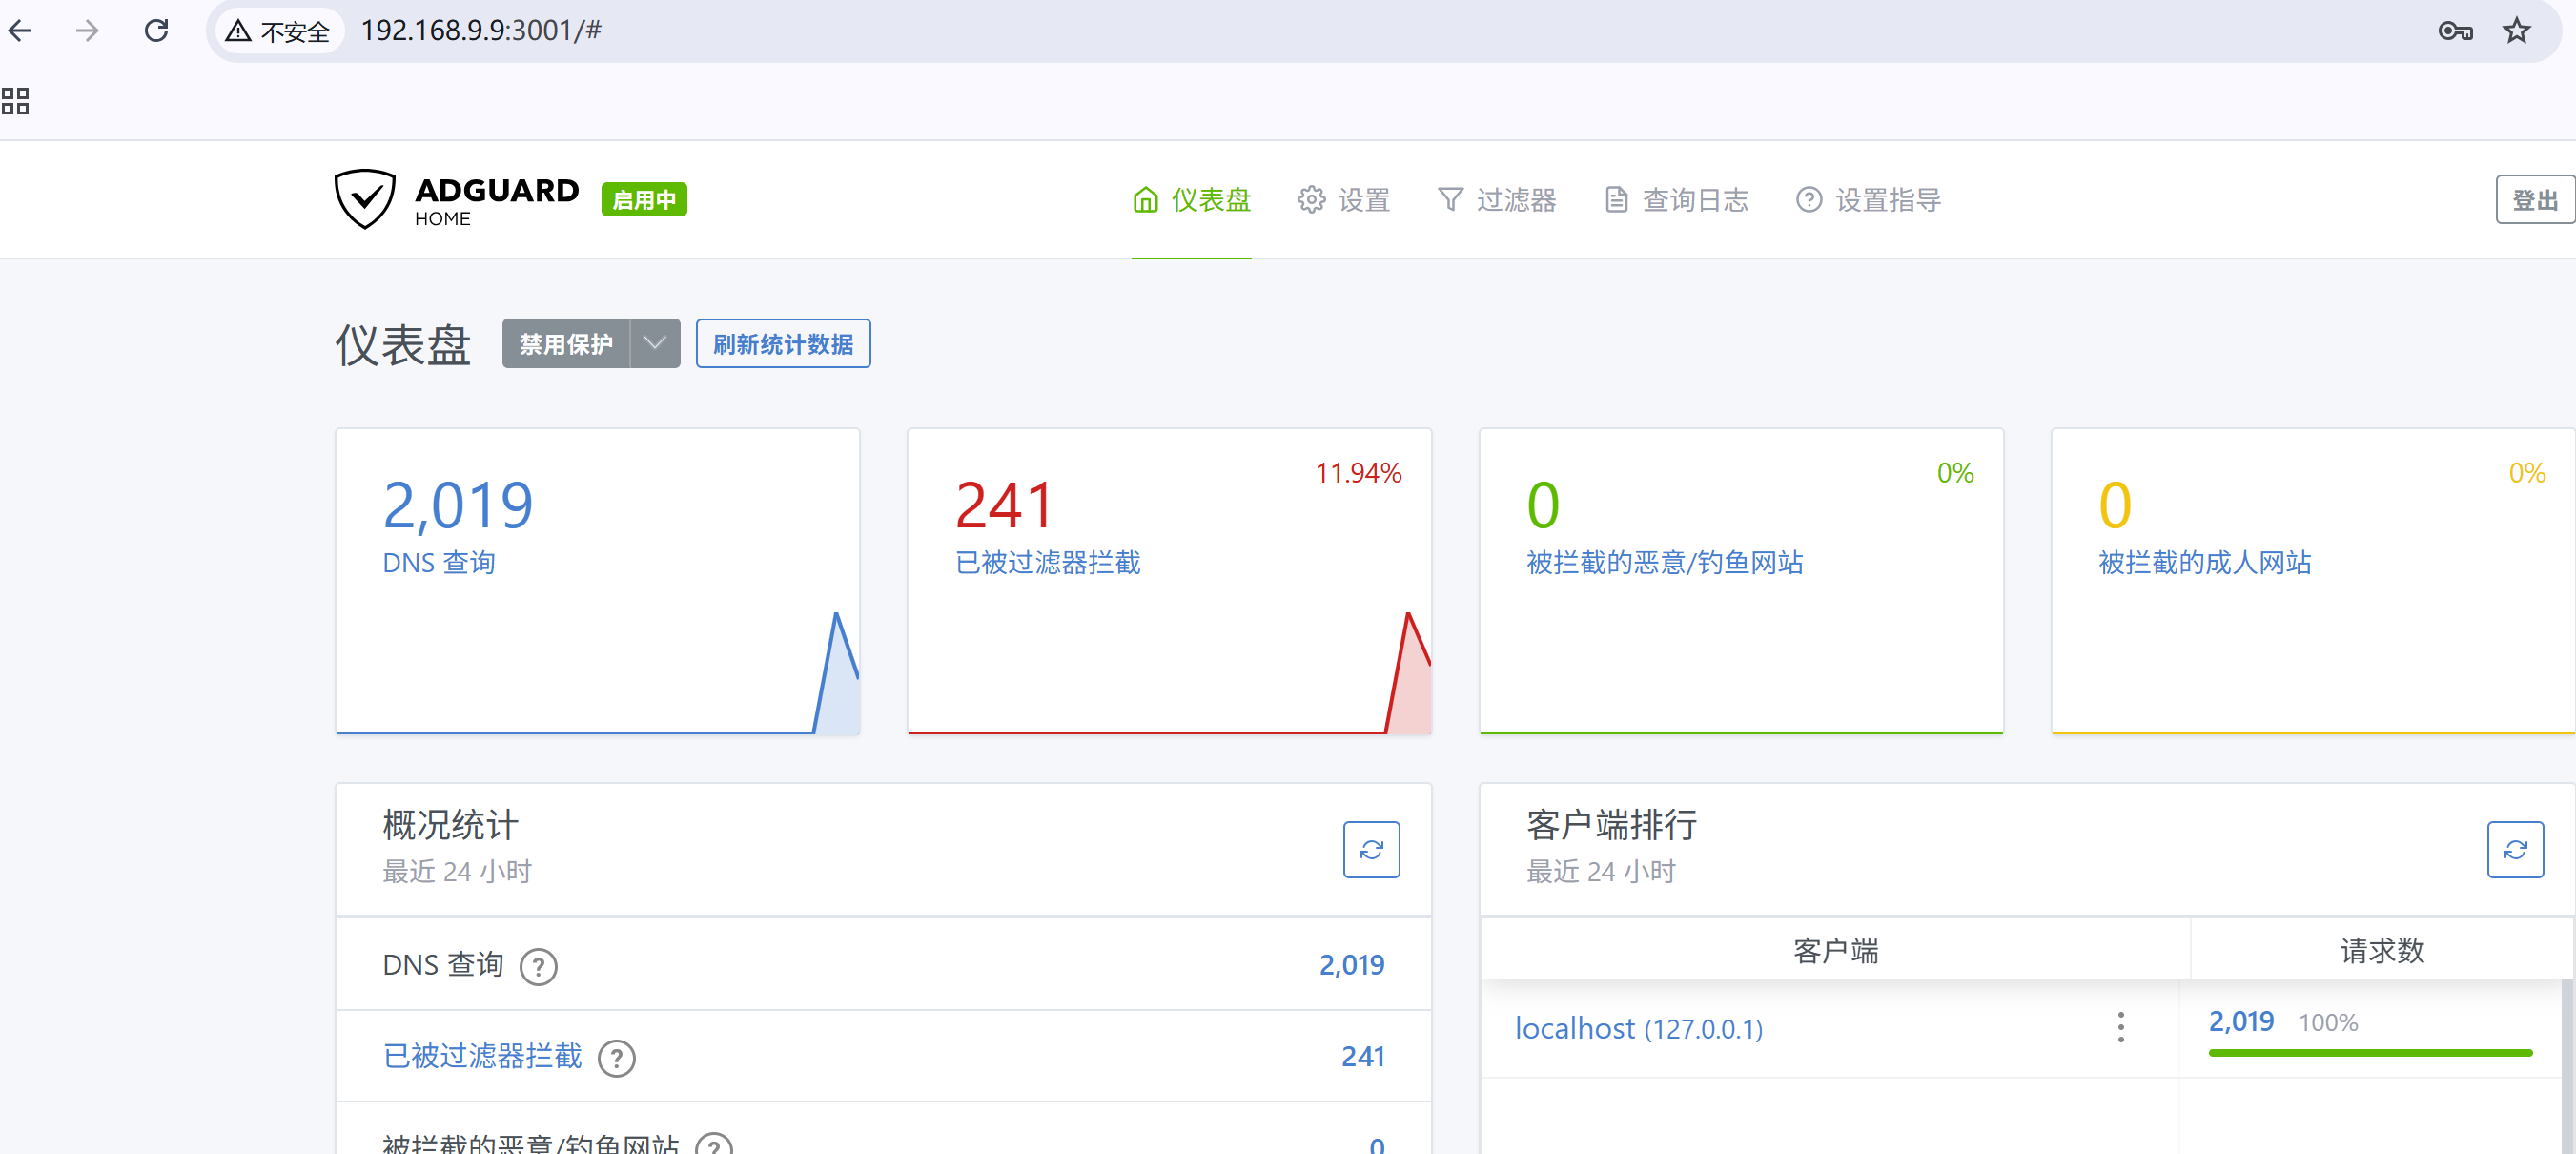
经过简单的一番部署后, 跑起来, 我这个主要做dns上游+mosdns一起 路由内还运行了 openclash
运作应该是 路由的bqdns👉openclash👉adguradhome+mosdns
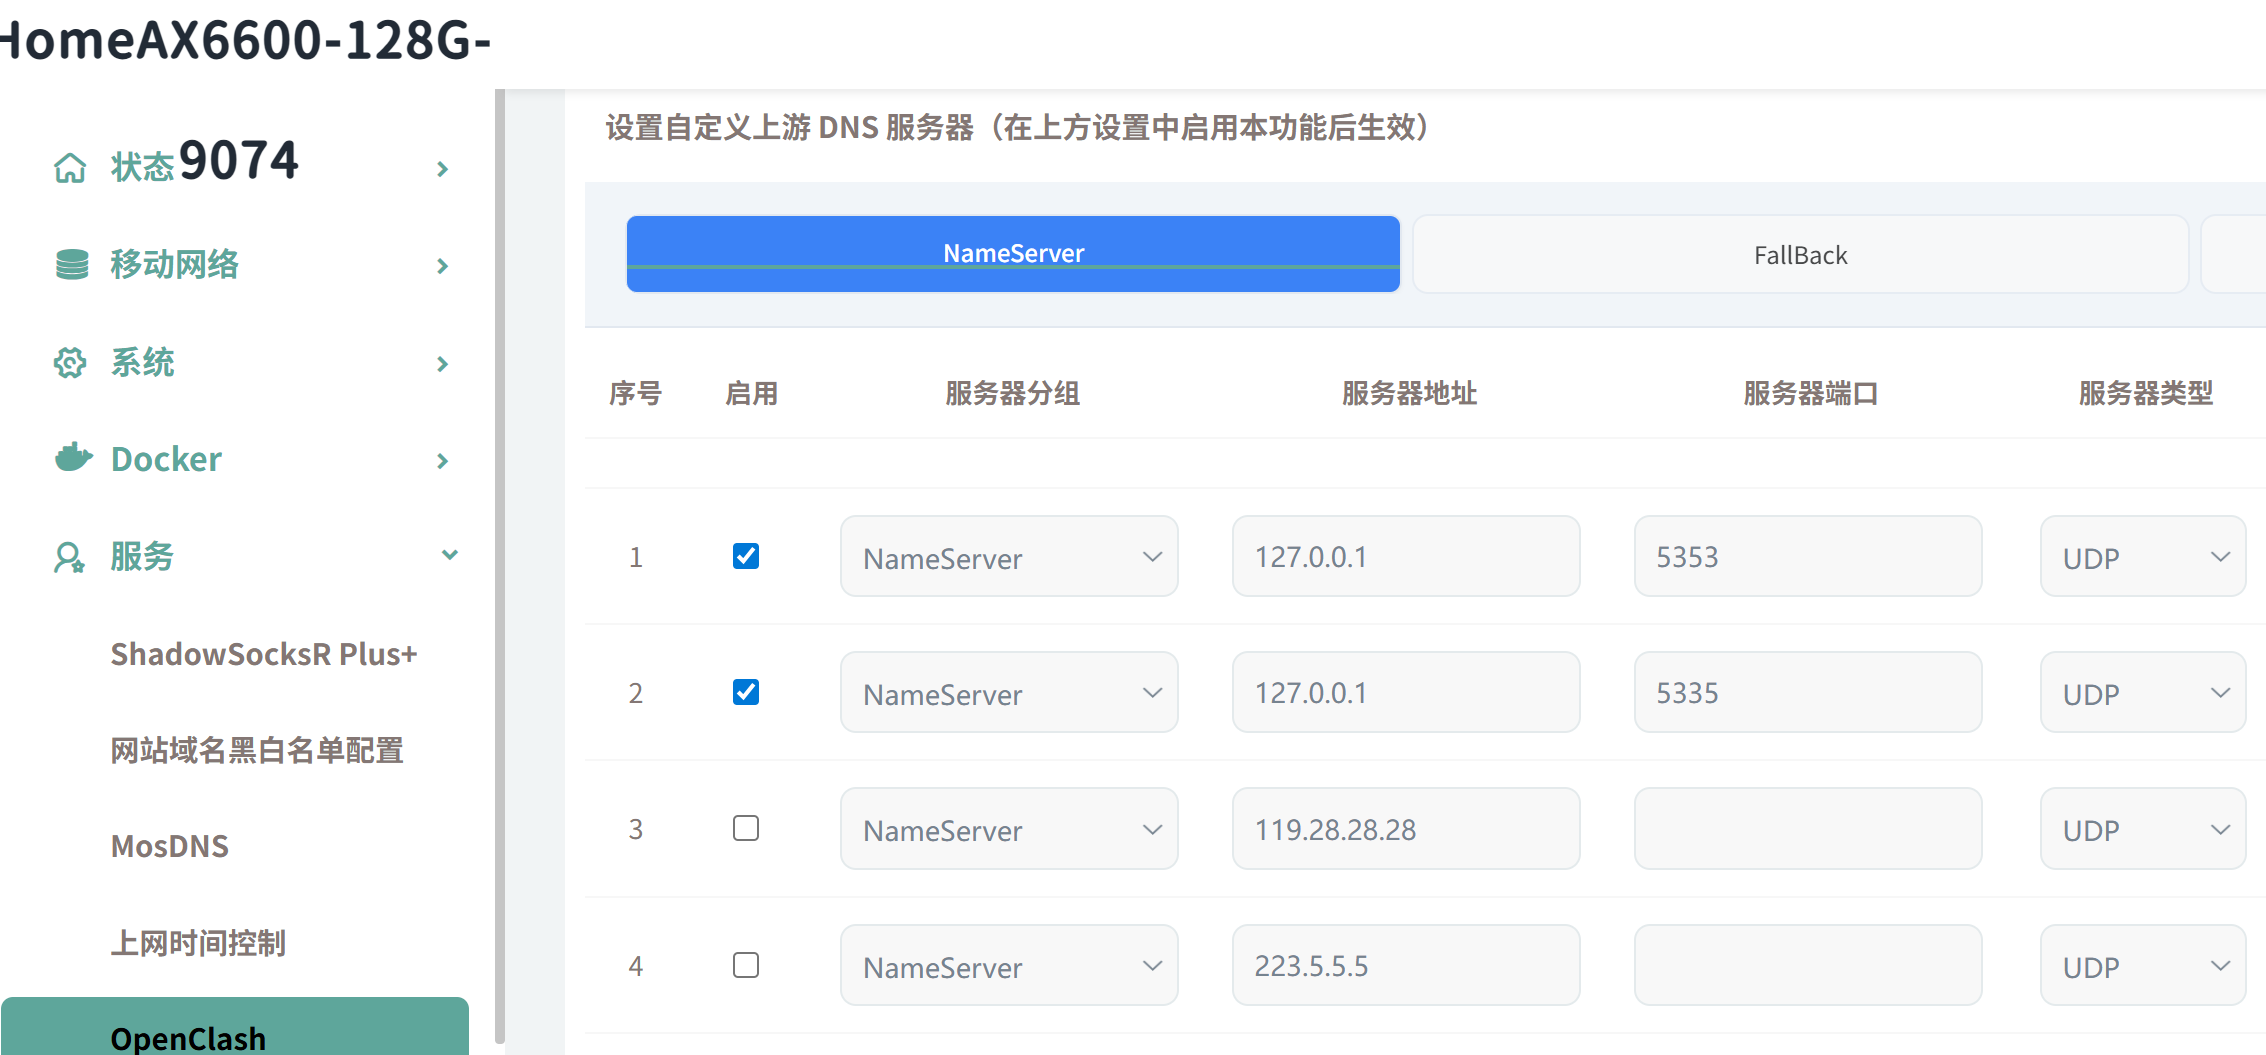
DNS上游填好几个速度快的
DNS黑名单 把你要过滤的一些txt地址添加上去。 简单随便一个都行, 我主要以防那个蹦了。。
规则就不贴了 直接在github上复制最新的链接
https://github.com/217heidai/adblockfilters?tab=readme-ov-file
具体更详细的 更高级的 自行研究了 哈